2 minutes
Creating a Raspberry Pi Disk Image
Making a Raspberry Pi Disk Image is actually a fairly simple process on OSX and you only need to run 2 commands to kick the process off. For a little back story on this one I have a new Pi 2 which arrived today which doesn’t uses a Micro SD and the old Model B uses an SD Card, Rather than using an adapter I actually used an SD Card.
So why a disk image? My old Pi is set up and running Retro Pi and another part of my order was an NFC Expansion and I will cover more on that soon. So between me ordered a part that is designed for the old Model B GPIO and not ordering an adapter for the Pi 2 and being too lazy to source all the ROMs again and set up Retro Pi with my USB SNES Controller I went with the disk image.
Lets get on with the good stuff, The first thing you will want to do is put the SD Card into your Mac and run:
diskutil list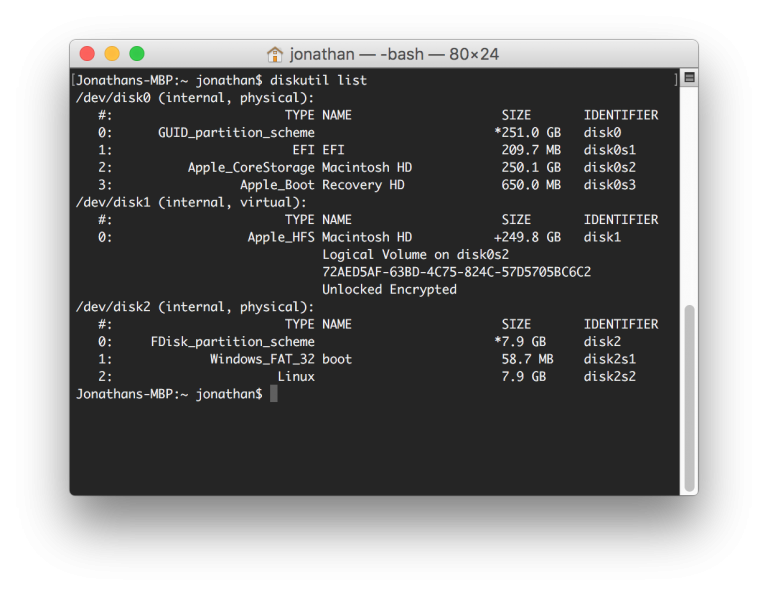
My SD Card was 8GB so looking at the output I can see that it is /dev/disk2, Now we can create our image which we can apply to other cards. The command for this will use sudo so it will require authentication and also the r identifier for the disk:
sudo dd if=/dev/rdisk2 of=~/Desktop/retropi.dmg bs=1m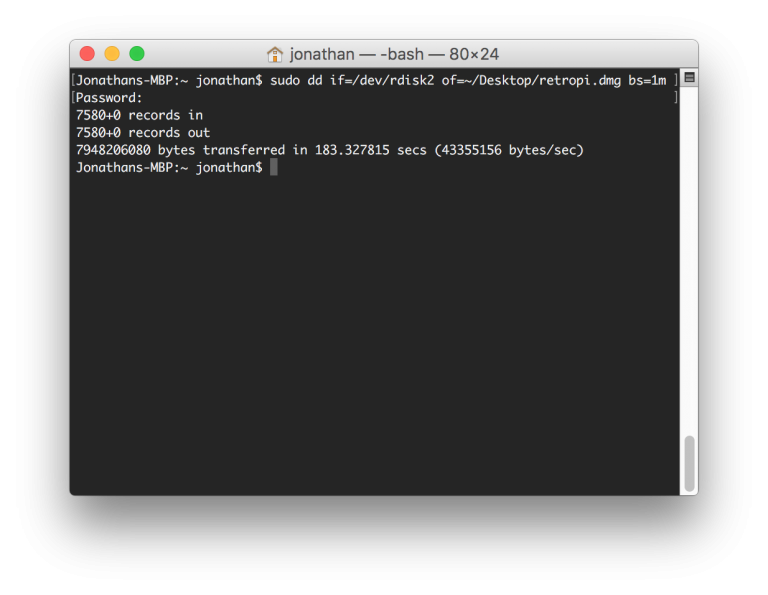
This took about 3 minutes to run and resulted in a 7.4GB dmg on my desktop which I will eventually restore onto the Micro SD card doing the same thing but selecting the dmg as the source and the disk as the desintation.
sudo dd if=~/Desktop/retropi.dmg of=/dev/rdisk2 bs=1m